Waterfowl Photography Tips: How to Set Yourself Up for Success
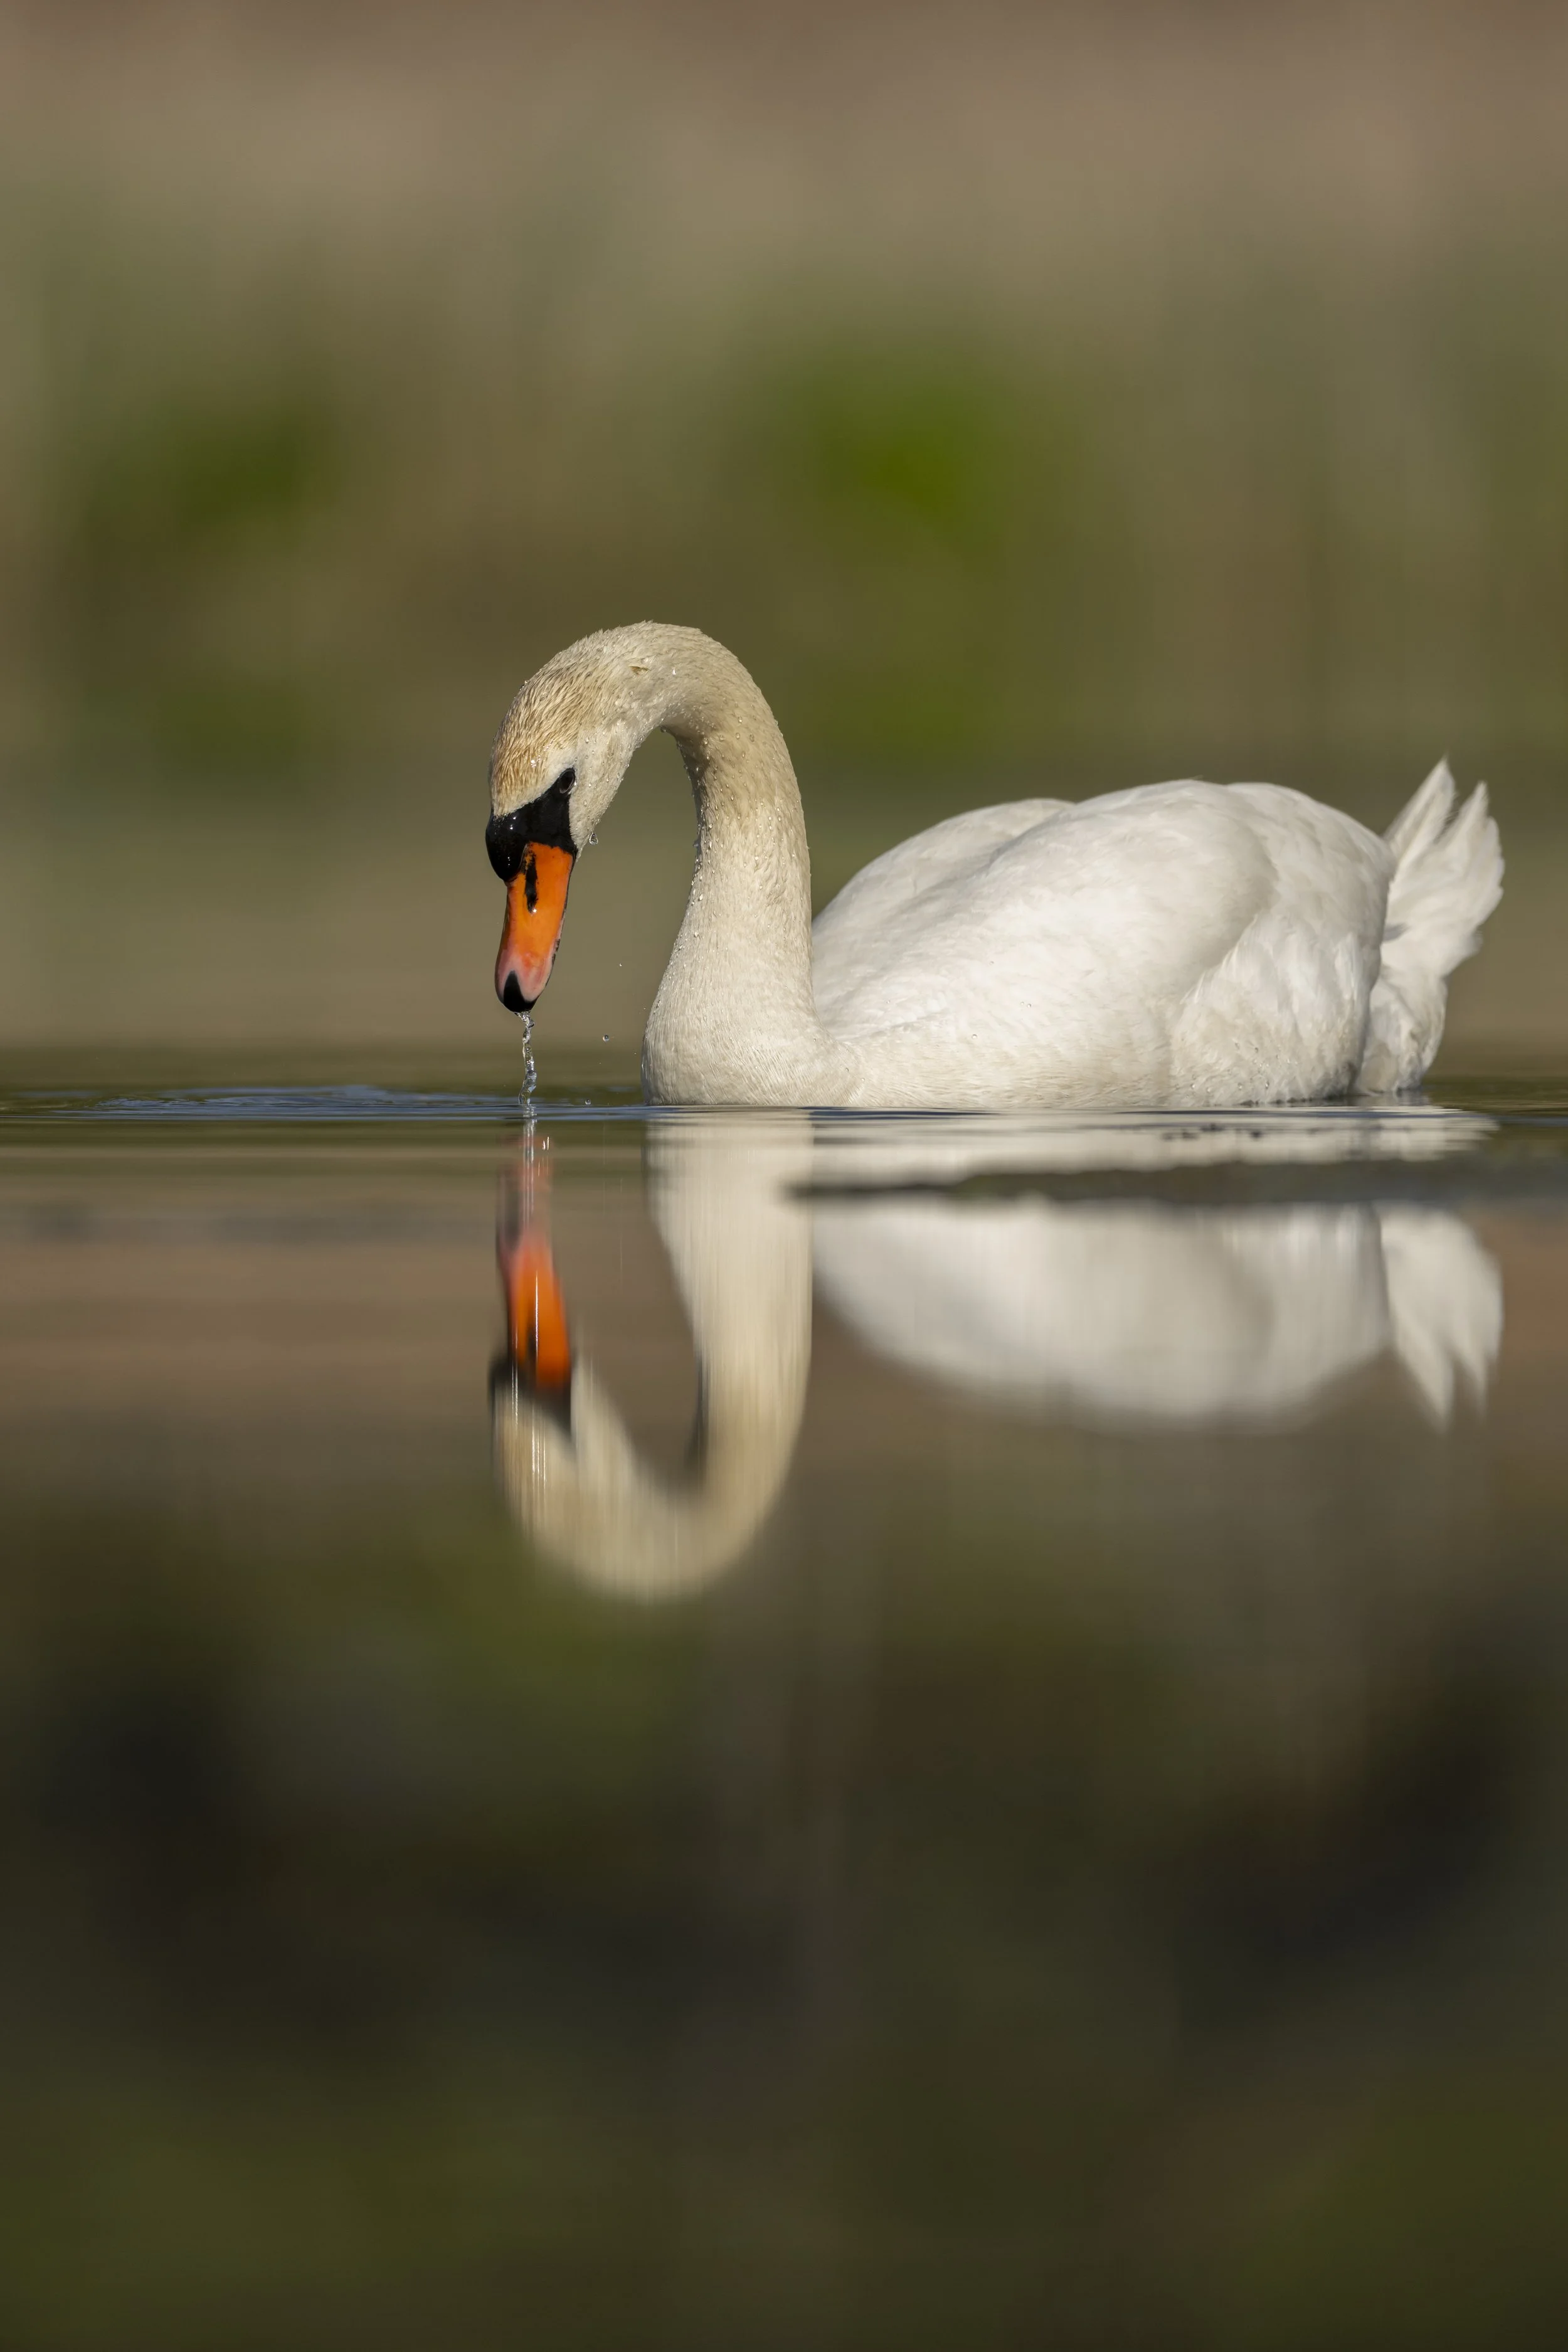
Mute Swan feeding in early spring.
Nikon Z9 600mm f/4 1/2500 ISO 200
Waterfowl photography is one of the most challenging and rewarding areas of wildlife photography. In many places—especially where waterfowl are hunted—these birds are extremely wary of people and will often flush long before a photographer can get close.
Successful encounters often require planning, patience, and sometimes laying still along muddy shorelines waiting for birds to approach within range for frame-filling images.
Since it’s early March as I write this, migration is beginning to ramp up. As waters begin to thaw, many species follow the melting ice north toward their breeding grounds. This transition period can create excellent opportunities for photographing waterfowl as birds pause along rivers, wetlands, and floodplains to rest and feed.
I’m fortunate to live in the Connecticut River Valley, which acts as a natural migration funnel. Many species use the river and surrounding floodplains as staging areas as they move north.
In this article I’ll share several tips that help me consistently photograph waterfowl successfully.
Quick Takeaways for Waterfowl Photography
If you’re short on time, here are a few key tips that can make a big difference:
Scout locations with open water during late winter and early spring
Use telephoto lenses in the 400–600mm range
Set up before birds arrive whenever possible
Position your camera low to the water for better backgrounds
Use natural cover or camouflage to reduce your profile
Minimize movement once birds are nearby
Plan gear placement so you don’t have to reach or adjust frequently
1. Scout the Right Locations
Success in waterfowl photography starts long before you bring your camera.
The key is finding locations where birds already want to be.
In late winter and early spring, look for bodies of water that still have open areas of water. Waterfowl tend to stay just south of the frozen water line where they still have access to food and open water for safety.
A great tool for finding birds is the eBird app, which allows you to view recent sightings and explore historical data for your area. Looking at previous years’ observations can help you predict when certain species may appear locally.
It’s also helpful to understand that different species prefer different habitats.
For example:
Green-winged teal often prefer shallow wetlands with dense vegetation.
Ring-necked ducks are commonly found in more open water.
Red-breasted mergansers are typically associated with coastal or brackish environments.
Understanding the habitat preferences of the species you hope to photograph will greatly increase your chances of finding them.
2. Bring the Right Gear
Having the right gear can make waterfowl photography significantly easier and more comfortable.
Telephoto Lens
Because waterfowl are often wary and tend to stay far from shore, a telephoto lens is extremely helpful. A focal length in the 400–600mm range will allow you to capture frame-filling images in many situations.
I frequently use teleconverters as well, especially when photographing species that prefer open water or coastal environments where getting closer isn’t possible.
Tripod or Ground Support
Even though I use lightweight OM System gear that is easy to handhold, waterfowl photography is one situation where I still prefer using a tripod or other support.
A tripod, ground pod, or bean bag offers two important advantages:
First, it reduces fatigue. Waterfowl photography often involves long periods of waiting, and having the camera supported allows you to stay ready without constantly holding the weight of the lens.
Second, it minimizes movement. With the lens already mounted and positioned, you can track approaching birds with much smaller movements—something that can make a big difference with easily spooked species.
Binoculars
Binoculars are incredibly useful when searching for waterfowl.
Many species are well camouflaged and can blend surprisingly well into reeds, vegetation, or reflections on the water. While it’s possible to scan through your camera lens, the shallow depth of field and need to adjust focus constantly makes it inefficient.
Binoculars allow you to quickly scan large areas and locate birds before raising your camera.
Clothing and Comfort
Dressing appropriately is important because waterfowl photography often involves sitting still near cold water for long periods.
I typically wear calf-height rubber boots so I can place my feet in shallow water when necessary. Waterproof pants are also helpful for staying dry along muddy or wet shorelines.
Layering is especially important in New England. In March, temperatures can be below freezing in the morning and rise above 50°F later in the day. Multiple light layers allow you to stay comfortable as conditions change.
I also always carry hand warmers and a warm drink, usually coffee, which can make long cold sessions much more enjoyable.
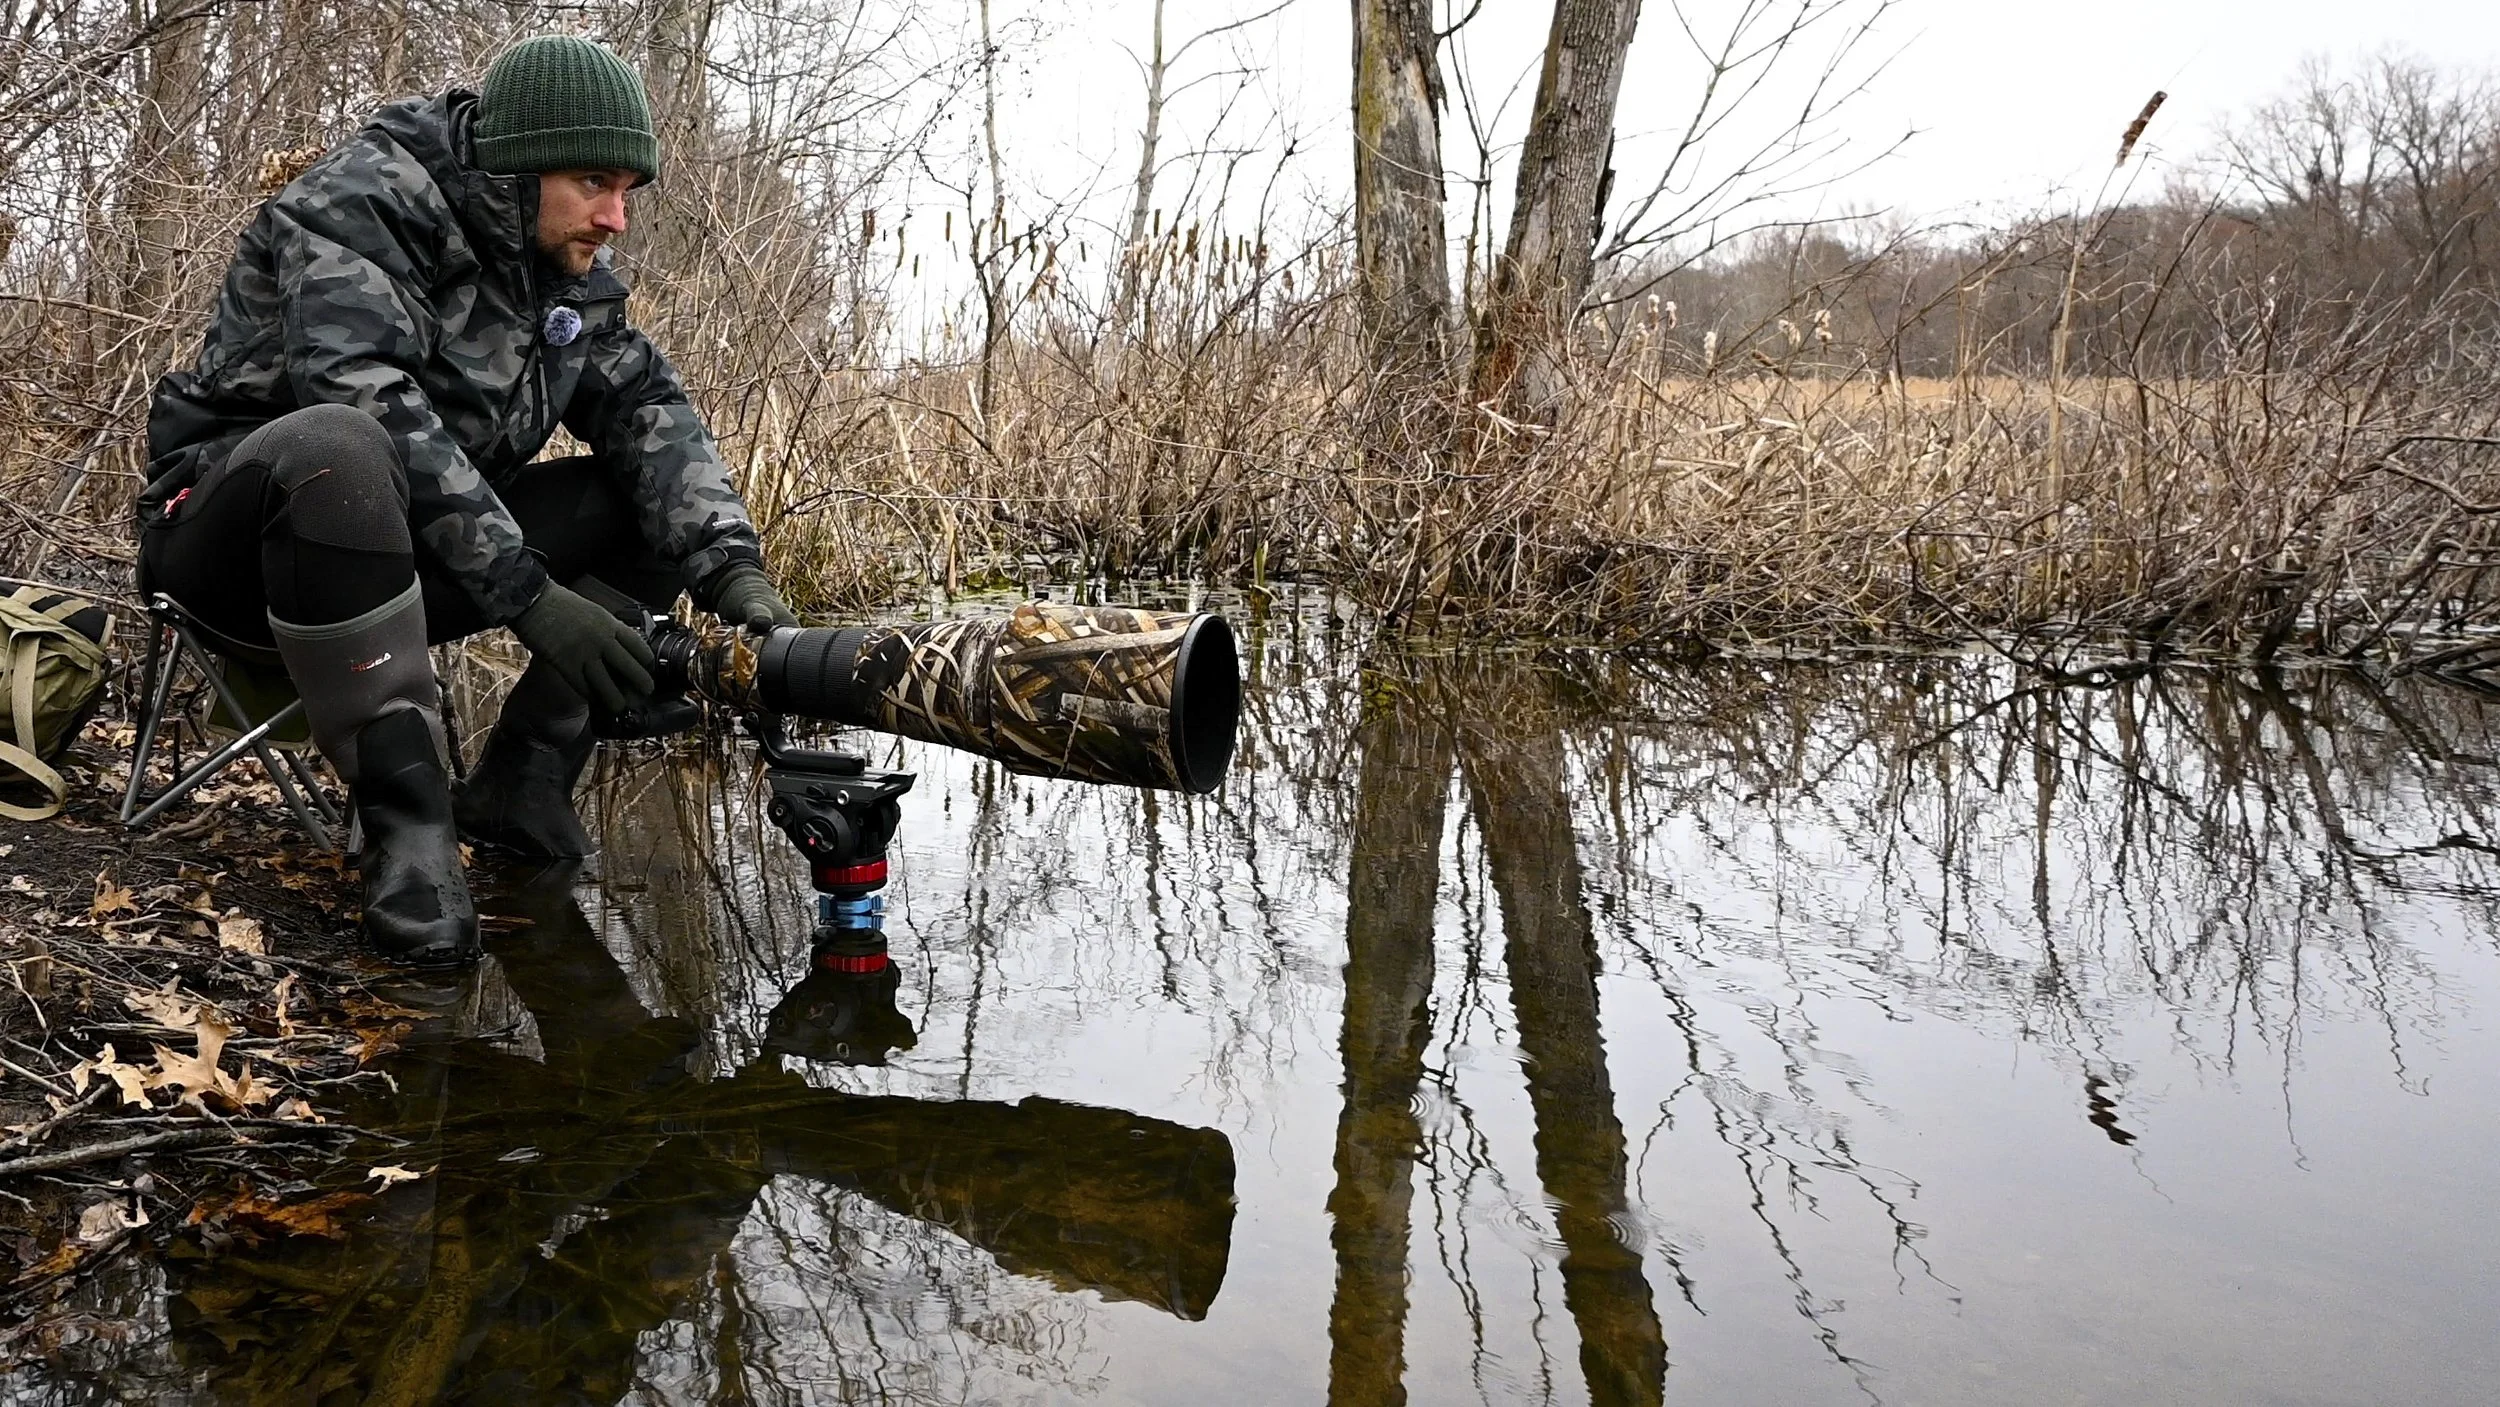
Tragopan ghillie lens cover pulled over the lens with tripod in the water to allow for low shooting angle.
3. Use Concealment
Waterfowl photography is one genre of wildlife photography where camouflage can make a noticeable difference.
Because many species are naturally cautious, anything you can do to break up your outline helps reduce the chance of spooking birds.
I often use a ghillie hood or 3D camouflage, which helps break up the outline of both myself and my camera. Lens sleeves can also be very helpful for concealing hand movements while shooting.
That said, you don’t need specialized camouflage to get started. I’ve had plenty of success simply wearing earth-toned clothing and positioning myself near natural cover like grasses, reeds, or brush along the shoreline.
Another option is using a small pop-up blind or photography hide. These allow you to move more freely while remaining concealed and can be especially useful in open areas with limited natural cover.
4. Approach Without Spooking Birds
A successful waterfowl outing often starts with how you approach the area.
Whenever possible, it’s best to set up in a location before birds arrive. While this may seem counterintuitive, it greatly reduces the risk of disturbing birds and allows them to naturally move into the area while you remain still.
If birds are already present, move slowly and deliberately.
With diving ducks in particular, one strategy I use is to move while the bird is underwater. When the duck dives, I take a few careful steps forward and then stop completely before it resurfaces. Repeating this process allows you to slowly close the distance while minimizing disturbance.
As you approach your location, also pay attention to lighting, background, and obstacles. Once birds arrive, moving to adjust your position can easily scare them away, so it’s worth taking the time to position yourself carefully from the start.
FIELD NOTE:
One morning along the floodplains of the Connecticut River, I set up in an area where I had seen wood ducks hanging out in the past. There were small stumps poking out from the surface of the water and the vegetation was starting to sprout out of the surface of the water.
When I first settled in, there were no birds around and the first hour felt like nothing was around. It is these moments where the thoughts creep in, “Should I move to another location? Should I stay here? Should I go home?”
Then as it typically happens, one wood duck landed, a female, then another and then two more. Then a male landed as well.
Because I was already in position and sitting still, they started to feed and eventually moved right in front of me. Even though I was sitting up along the bank without any camouflage on, these birds continued to feed and act naturally in front of me allowing for excellent opportunities to observe and photograph them.
Moments like this are great reminders that in wildlife photography, patience and planning pay off in the end.
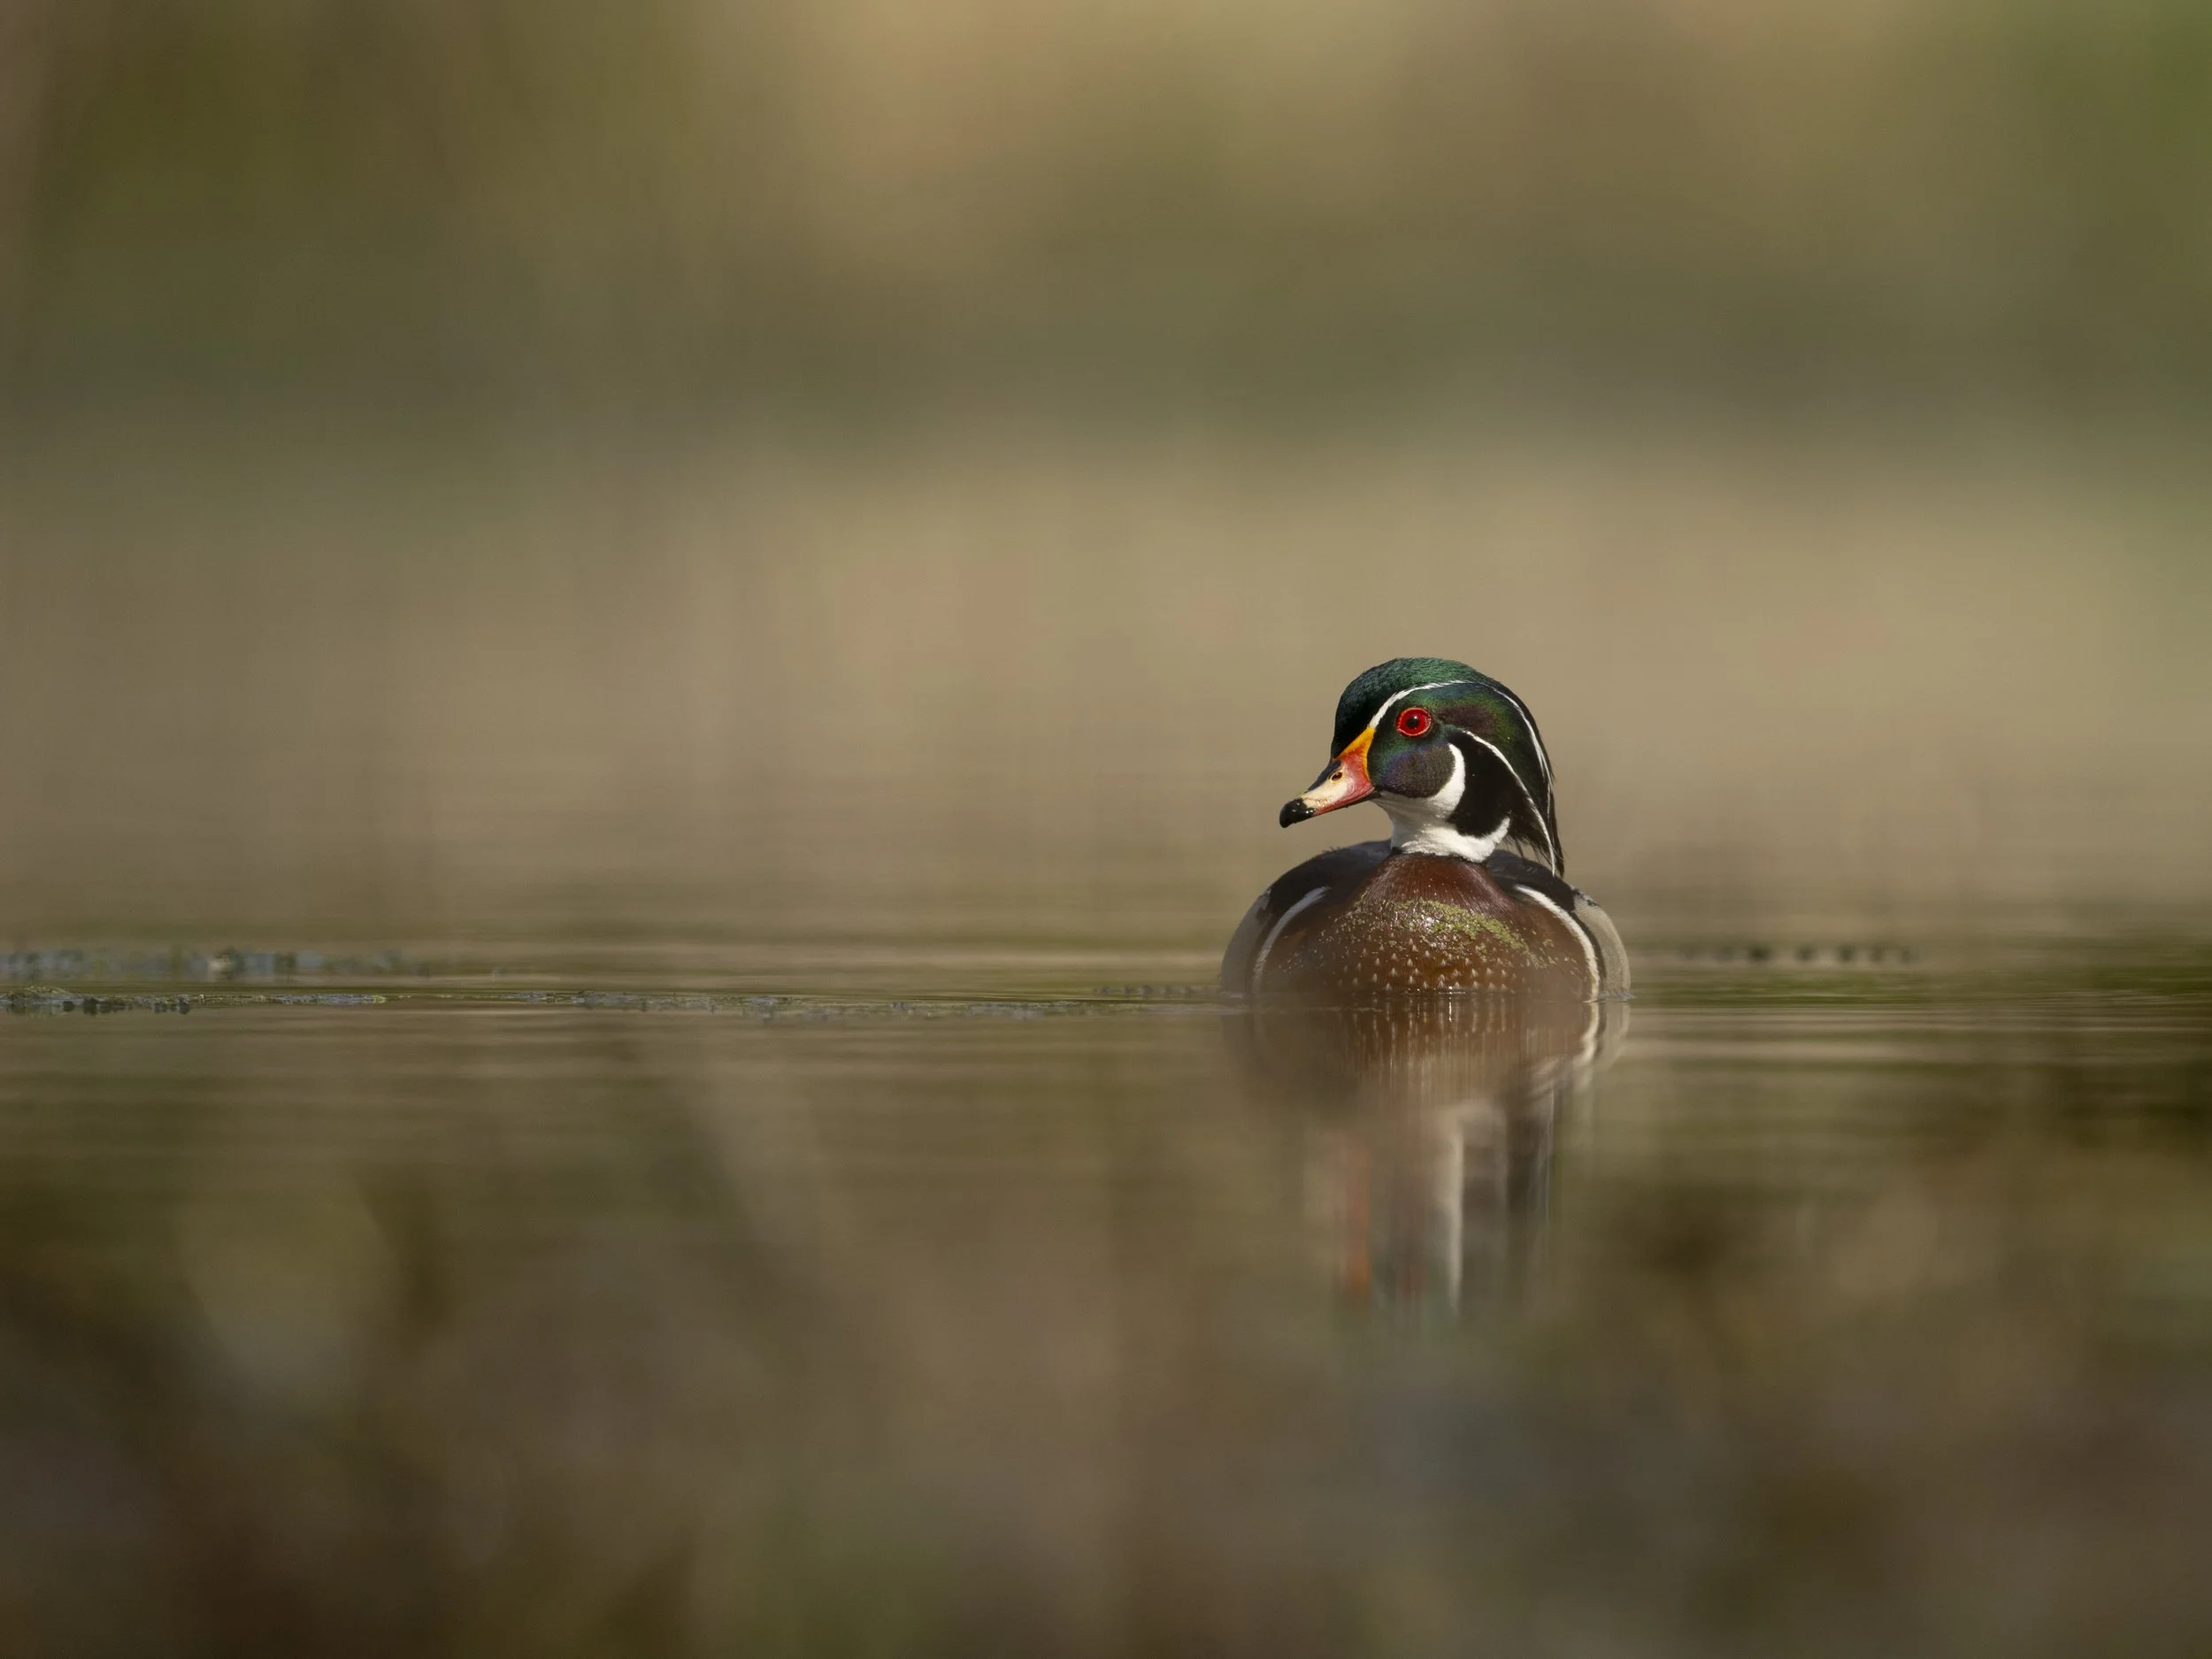
Wood Duck (Aix sponsa) approaching my position.
Nikon Z9 600mm f/4 1/2500 ISO 250
May 2024
5. Set Up for the Shot
Once you reach your location, setting up properly will make the rest of the session much smoother.
The first thing I do is set up my tripod or ground pod and mount the camera so I’m ready if birds appear suddenly.
If I’m using a tripod, I usually spread the legs fully and position the lens as close to the surface of the water as possible. Sometimes I will even place the tripod partially in the water to achieve a lower shooting angle.
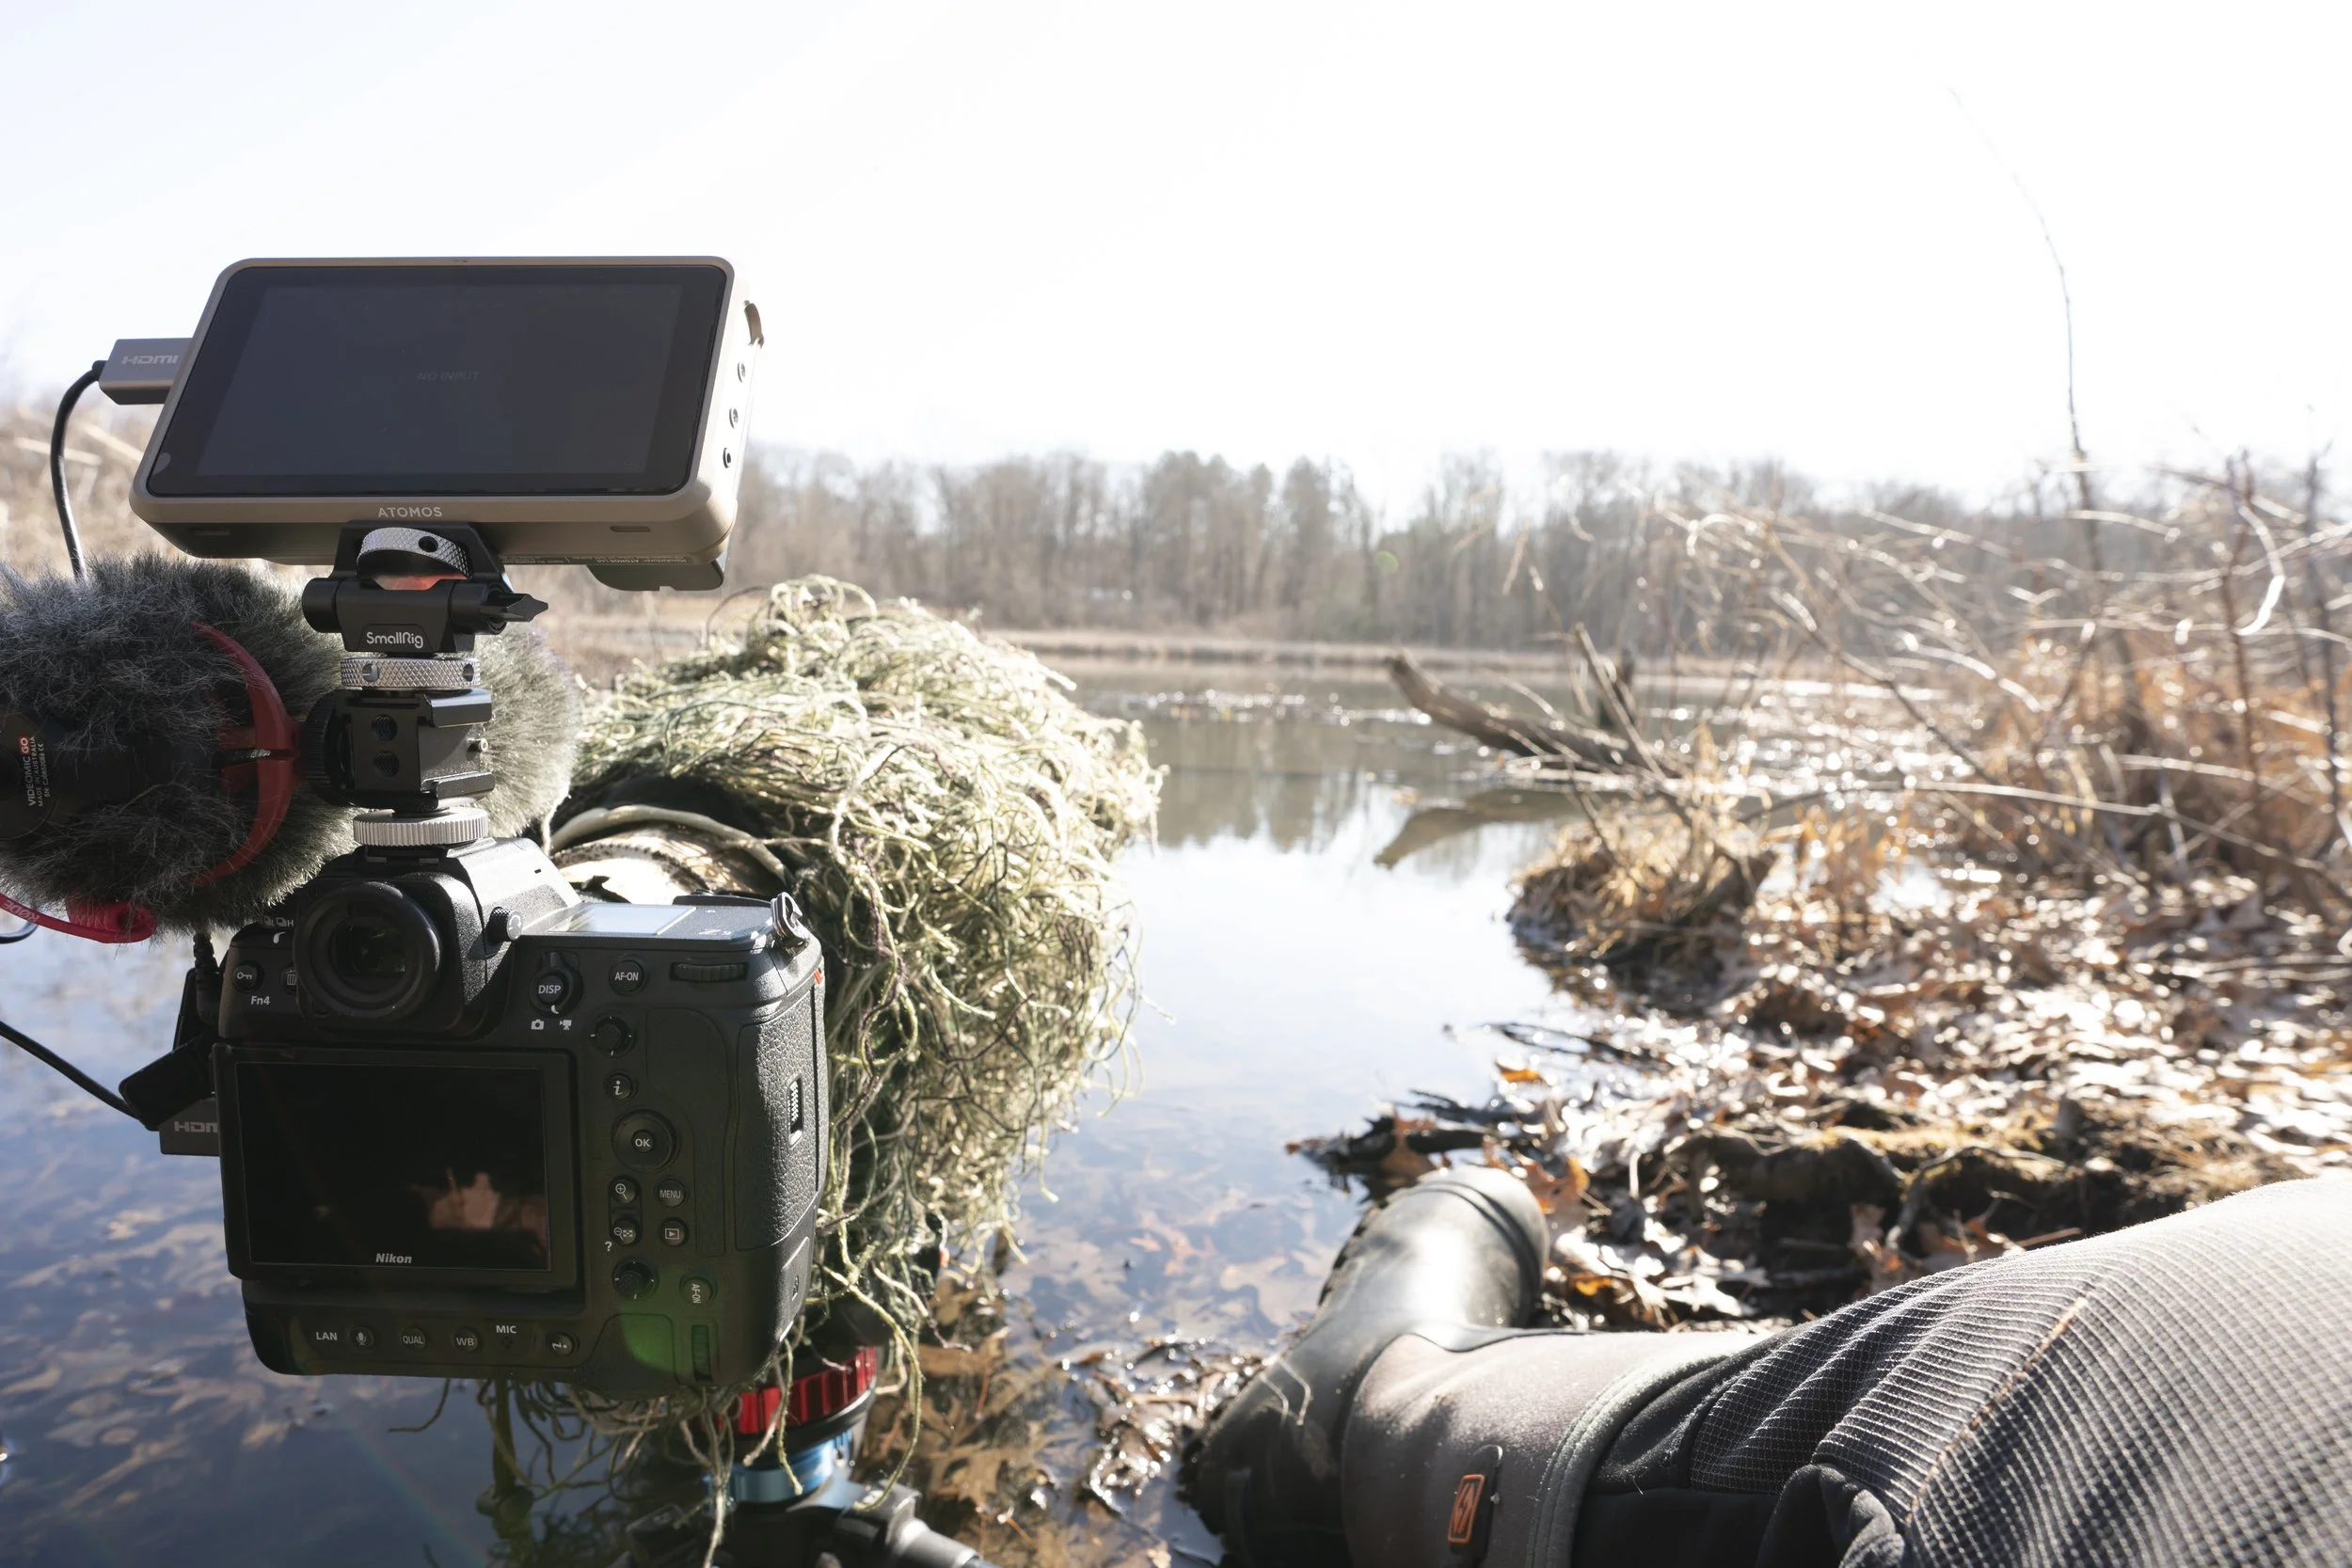
Tripod set up in water allowing lens to be close to water level. Sitting in stool for comfort with LCD flipped up to take photos.
Keeping your lens close to the surface of the water helps create smoother foregrounds and backgrounds, allowing the bird to stand out more clearly in the frame. I’ll dive deeper into how shooting angle affects your photos in a future post.
Depending on the shoreline, I will either lay down or sit while photographing.
Laying down usually provides the lowest profile and often produces the most pleasing angles. However, if the bank is steep or uneven, sitting may be more comfortable for longer sessions.
When sitting, an articulating LCD screen can be very helpful, allowing you to keep the camera low while still being able to see the display.
Comfort is important during long waits, so I often bring a small stool or foam mat. These help keep you dry and allow you to remain still for longer periods without discomfort.
Before settling in completely, I also make sure any gear I may need—such as batteries, memory cards, binoculars, snacks, or drinks—is within easy reach. Planning this ahead of time helps minimize movement once birds arrive.
Once everything is in place, the final step is simple: sit still and wait.
If you’re looking to improve your wildlife photography or get more out of your OM System gear, I also offer one-on-one wildlife photography mentorship sessions where we can go deeper into topics like field technique, autofocus setup, and wildlife behavior.
Final Thoughts
Patience is one of the most important skills in wildlife photography, and waterfowl photography is no exception.
By scouting good locations, approaching carefully, and setting up thoughtfully, you can greatly increase your chances of having birds approach within range for compelling photographs.
Waterfowl are incredibly diverse and colorful birds, and once you start spending time photographing them, it’s easy to become hooked.
In my next post, I’ll cover camera settings, autofocus strategies, and behavior cues that can help you capture sharper and more dynamic waterfowl images.
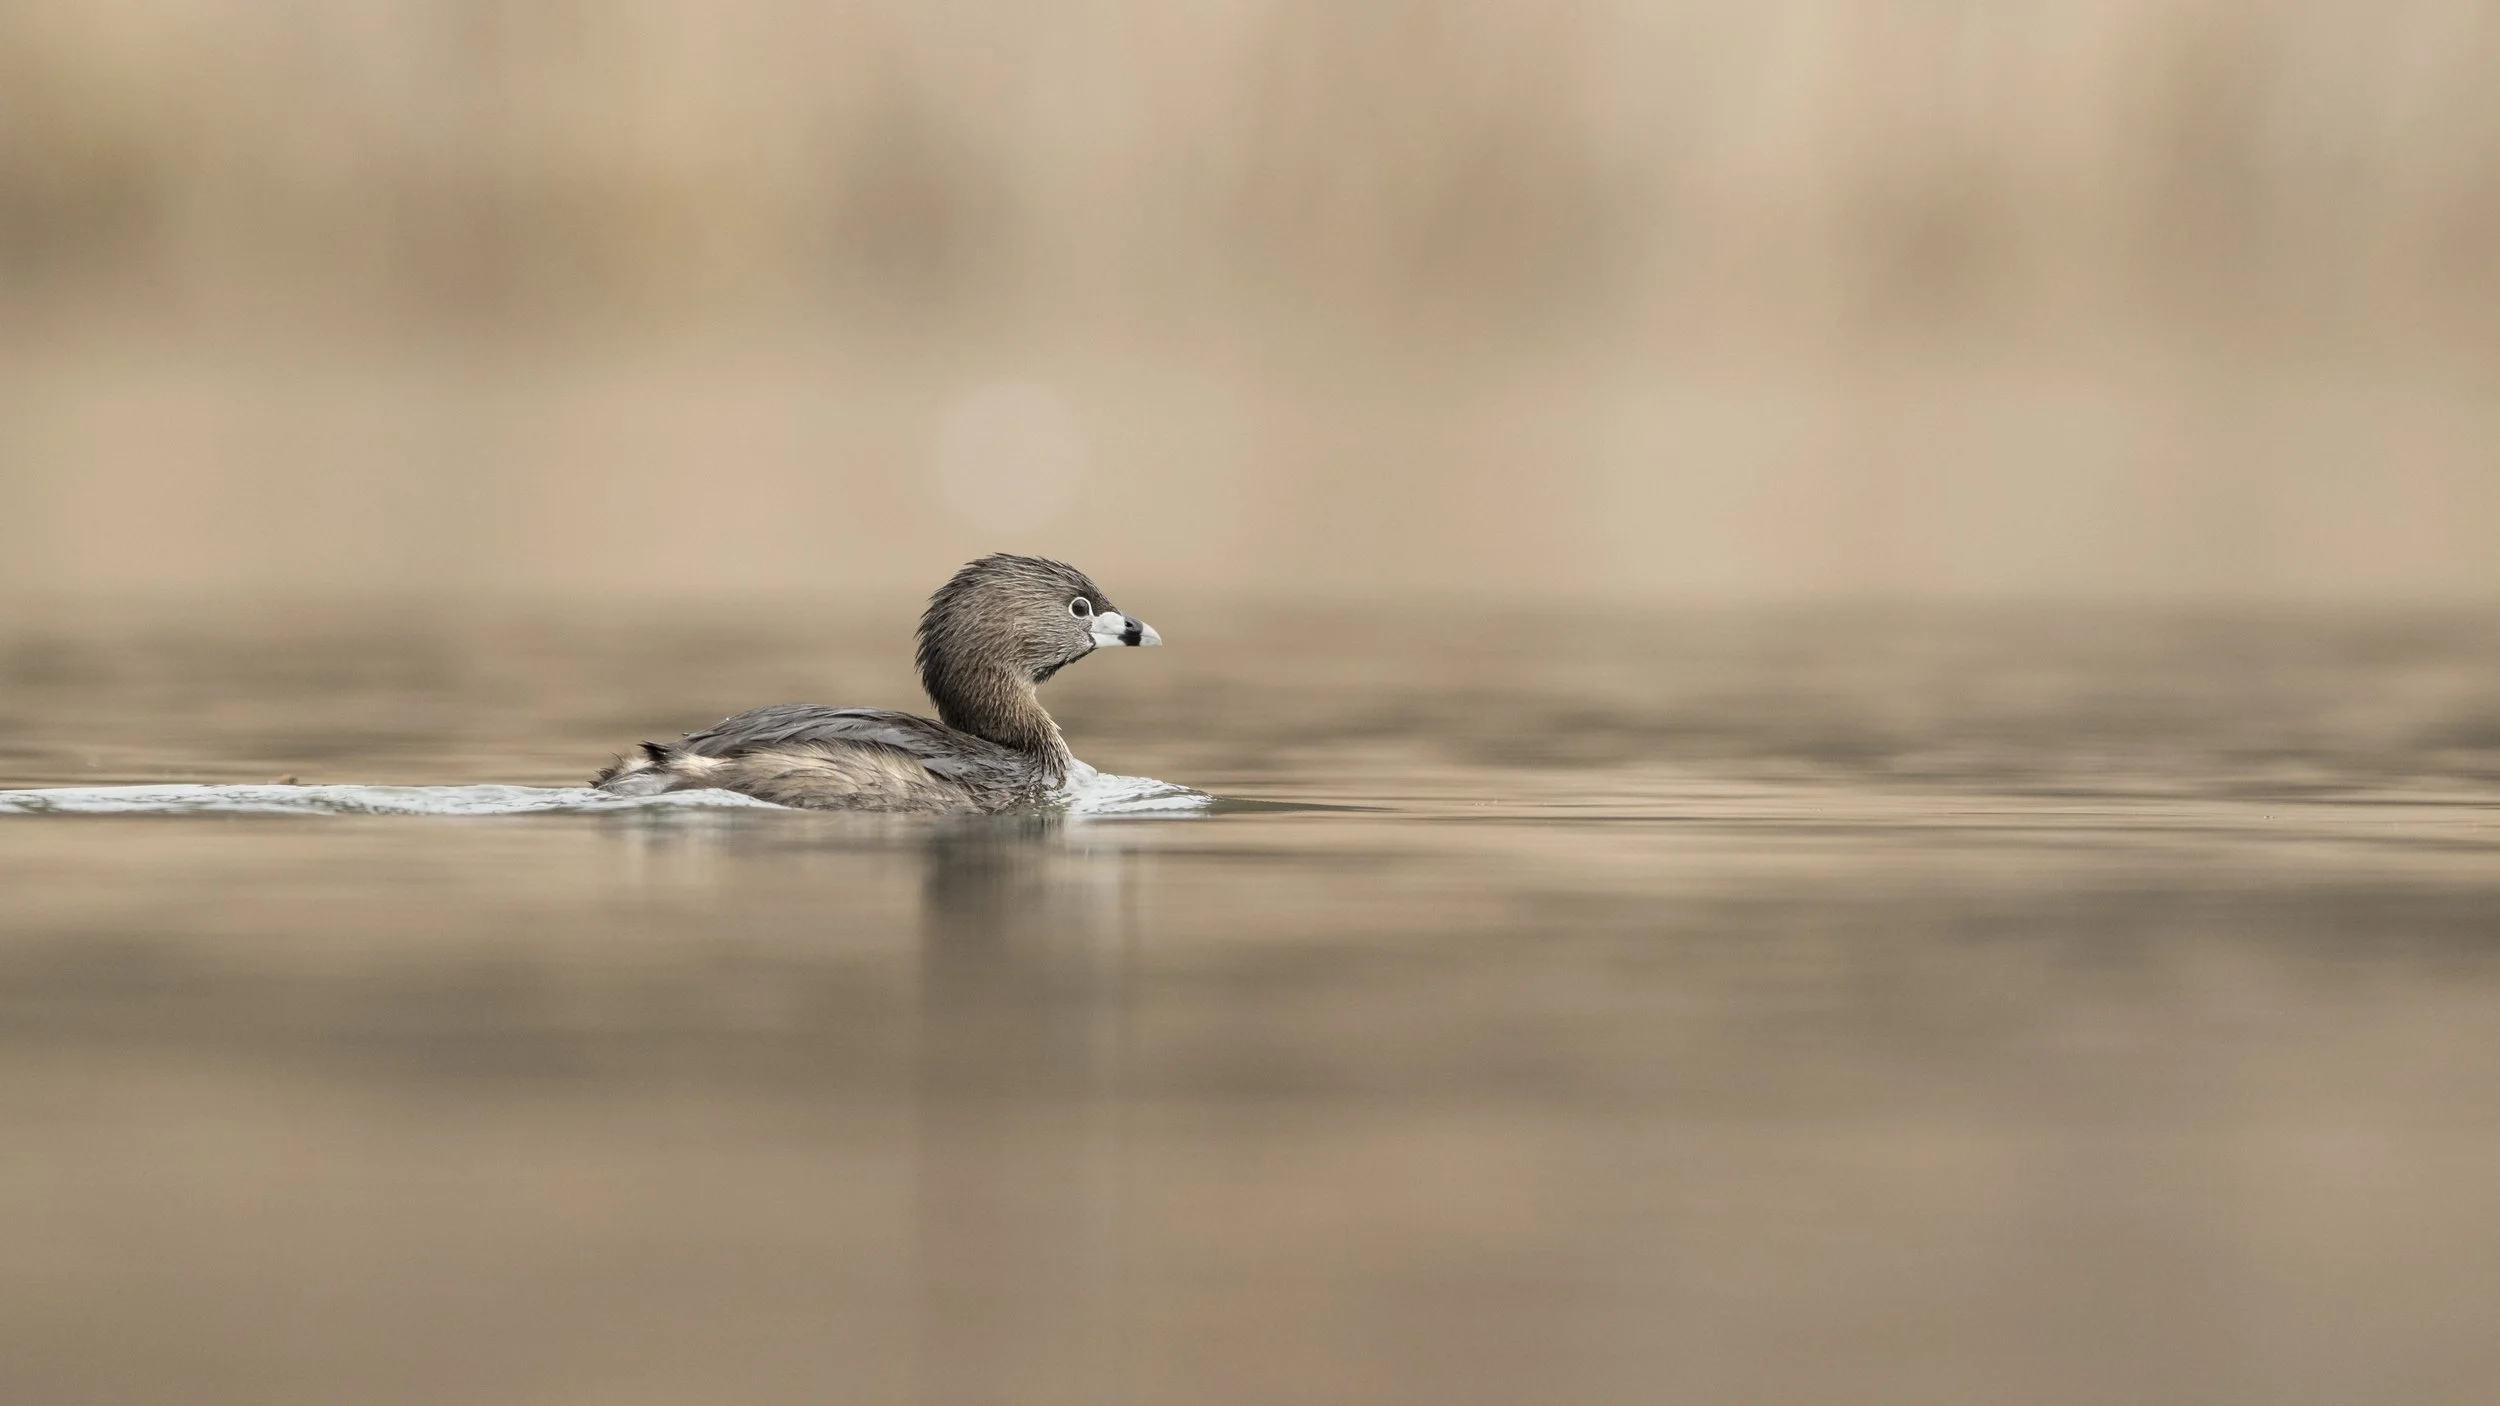
Pie-billed Grebe (Podilymbus podiceps) taking a break from foraging.
Nikon Z9 840mm f/6.3 1/1600 ISO 1600
March 2024